Table of contents
Apache Pinot can be run in any of the following environments:
- locally on our own computer
- in Docker
- in Kubernetes
Here, we’ll discuss about how to deploy and run Apache Pinot locally on our computer.
Download Apache Pinot
Let’s start by getting the Apache Pinot distribution. We can either download a packaged release or build a distribution from the source code.
Prerequisites:
Install JDK11 or higher (JDK16 is not yet supported).
For JDK 8 support use Pinot 0.7.1 or compile from the source code.
Here, we’ll download a packaged release.
Download the latest binary release from Apache Pinot, or use the following command. At the time this blog was written, 0.11.0 was the most recent version of Pinot.
PINOT_VERSION=0.11.0 #set to the Pinot version you want to use

wget https://downloads.apache.org/pinot/apache-pinot-$PINOT_VERSION/apache-pinot-$PINOT_VERSION-bin.tar.gz
Once we have the tar file downloaded, untar it as shown below:
# untar it
tar -zxvf apache-pinot-$PINOT_VERSION-bin.tar.gz

# navigate to directory containing Pinot binaries and launch scripts
cd apache-pinot-$PINOT_VERSION-bin
Launching Apache Pinot
We can launch Apache Pinot either by using Quick Start or by launching all of its components individually, one at a time.
Pinot launch script: The
pinot-admin.shlaunch script can be found in the bin directory of Pinot. It can be used to start different Pinot components. If we run it without any arguments, it will show us all the commands we can use.
Launching Apache Pinot using Quick Start
Pinot comes with QuickStart commands that let us run all of its components in a single process and import pre-built data sets. If you are new to Pinot, these QuickStarts are a good place to start.
The following quick-start launches Apache Pinot with a set of sample data, schemas, and table configurations already loaded into it.
./bin/pinot-admin.sh QuickStart
The above quick-start command does the following:
- Starts Apache ZooKeeper
- Starts Pinot Controller
- Starts Pinot Broker
- Starts Pinot Server
- Creates the
baseballStatstable (comes with pre-loaded dataset) - Launches a standalone data ingestion (batch processing) job that builds one segment for a given CSV data file for the
baseballStatstable and pushes the segment to the Pinot Controller - Issues sample queries to Pinot
macOS Users: AirPlay receiver allows nearby Apple devices to send video and audio content to our Mac with AirPlay. By default, the Airplay receiver server runs on port 7000, which is also the port used by the Pinot server in the Quick Start. So we may get an address-bind exception when running quick-start commands. If we turn off the AirPlay receiver server and try again, this error message should go away.
Here, we will focus more on launching all the required components individually, one at a time. To know more about Quick Start commands, refer here.
Launching all the components individually
If we want to deal with bigger sets of data (more than a few MB), we can start each component separately.
Prerequisites
Before we start, make sure we’ve done everything on the following list:
| # | Step | Link |
|---|---|---|
| 1 | Download sample data and configs | https://github.com/npawar/pinot-tutorial |
| 2 | Download latest Apache Pinot release binary | https://pinot.apache.org |
| 3 | Install Java 9 or higher | https://openjdk.java.net |
| 4 | Install Apache Maven* 3.5.0 or higher | https://maven.apache.org |
| 5 | Download ZooInspector | https://github.com/zzhang5/zooinspector |
* Apache Maven is required to build and package ZooInspector tool.
ZooInspector
ZooInspector is a UI we can use for inspecting our znode structure. Every node in a ZooKeeper tree is refered to as a znode. Each time a znode’s data changes, the version number increases. Znodes are the main enitity that a programmer access. Make sure to click the refresh button on the ZooInspector tool to see any changes.
Build and run ZooInspector:git clone https://github.com/zzhang5/zooinspector.gitcd zooinspector/mvn clean packagechmod +x target/zooinspector-pkg/bin/zooinspector.shtarget/zooinspector-pkg/bin/zooinspector.sh
We’ll put together a Pinot cluster with the following components:
- 1 ZooKeeper
- 2 Pinot Controllers
- 2 Pinot Brokers
- 2 Pinot Servers
We will do the following activities in the order they appear:
- Starting ZooKeeper
- Starting Pinot Controller
- Starting Pinot Broker
- Starting Pinot Server
Starting ZooKeeper
We will start the ZooKeeper using the pinot-admin script (pinot-admin.sh), which can be found in the Apache Pinot installed directory. We uses the default ZooKeeper port, 2181.
./bin/pinot-admin.sh StartZookeeper -zkPort 2181
We can use ZooInspector tool to browse the ZooKeeper instance.
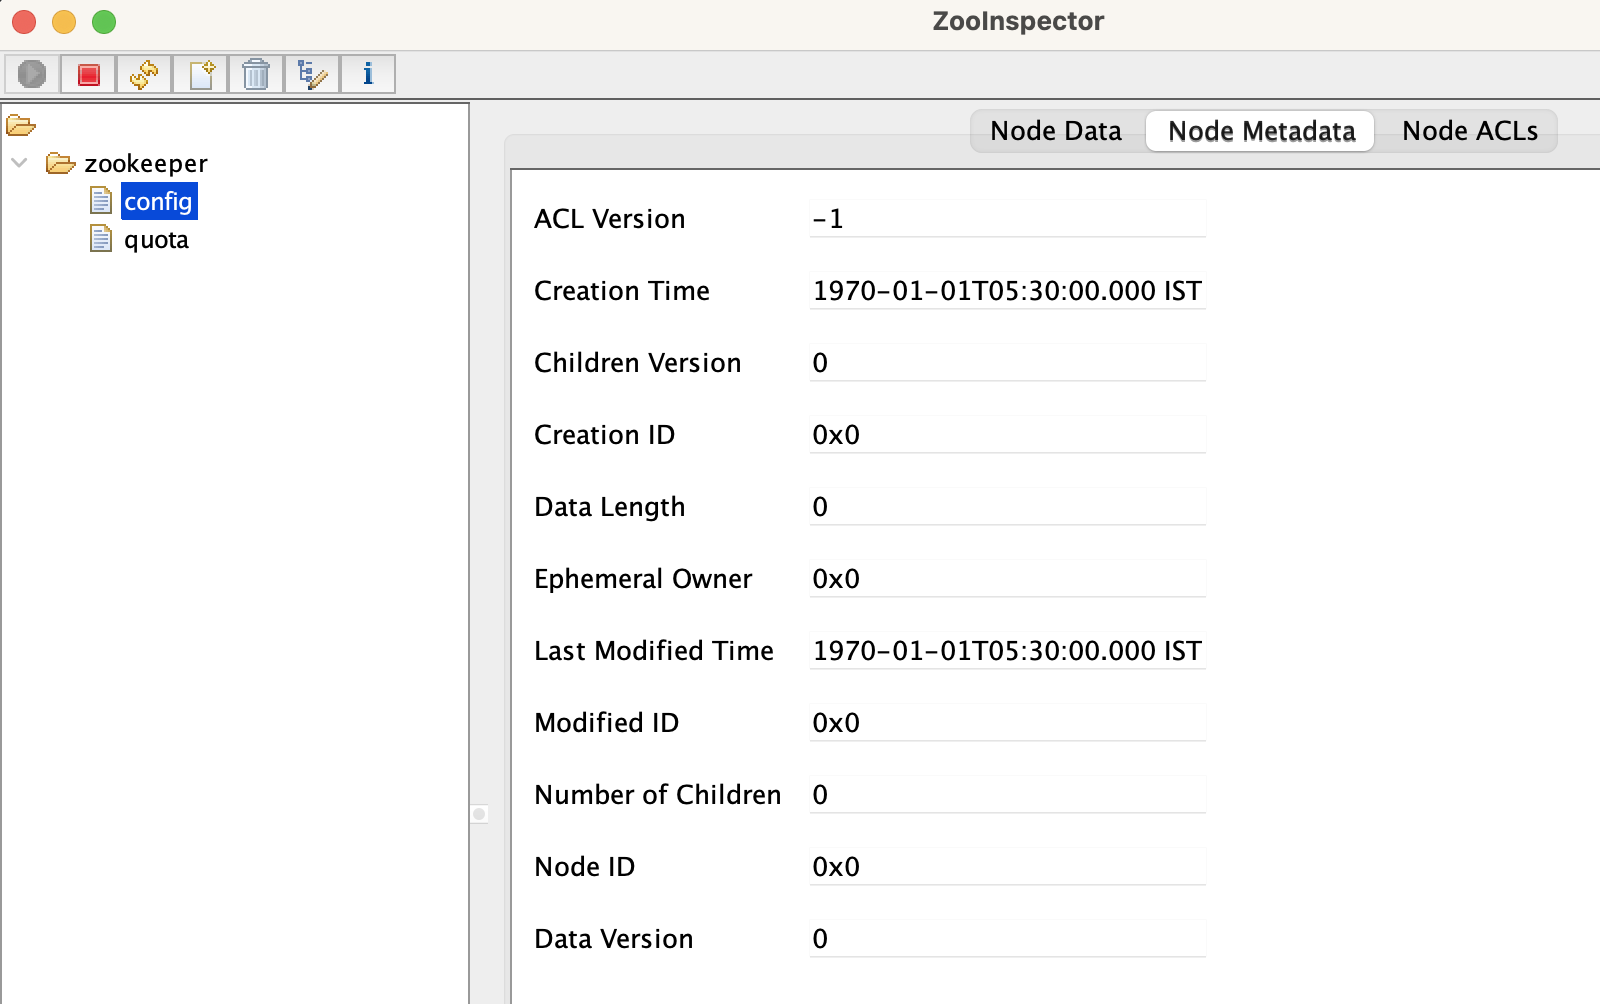 |
|
|---|---|
| Figure 1: ZooInspector Tool: Shows ZooKeeper instance. |
Starting Pinot Controller
Pinot Controller hosts Apache Helix, and together they are responsible for managing all the other components of the cluster. Controller’s default port is 9000.
Controller 1 on port 9001
./bin/pinot-admin.sh StartController \
    -zkAddress localhost:2181 \
    -clusterName PinotCluster \
    -controllerPort 9001
Controller 2 on port 9002
./bin/pinot-admin.sh StartController \
    -zkAddress localhost:2181 \
    -clusterName PinotCluster \
    -controllerPort 9002
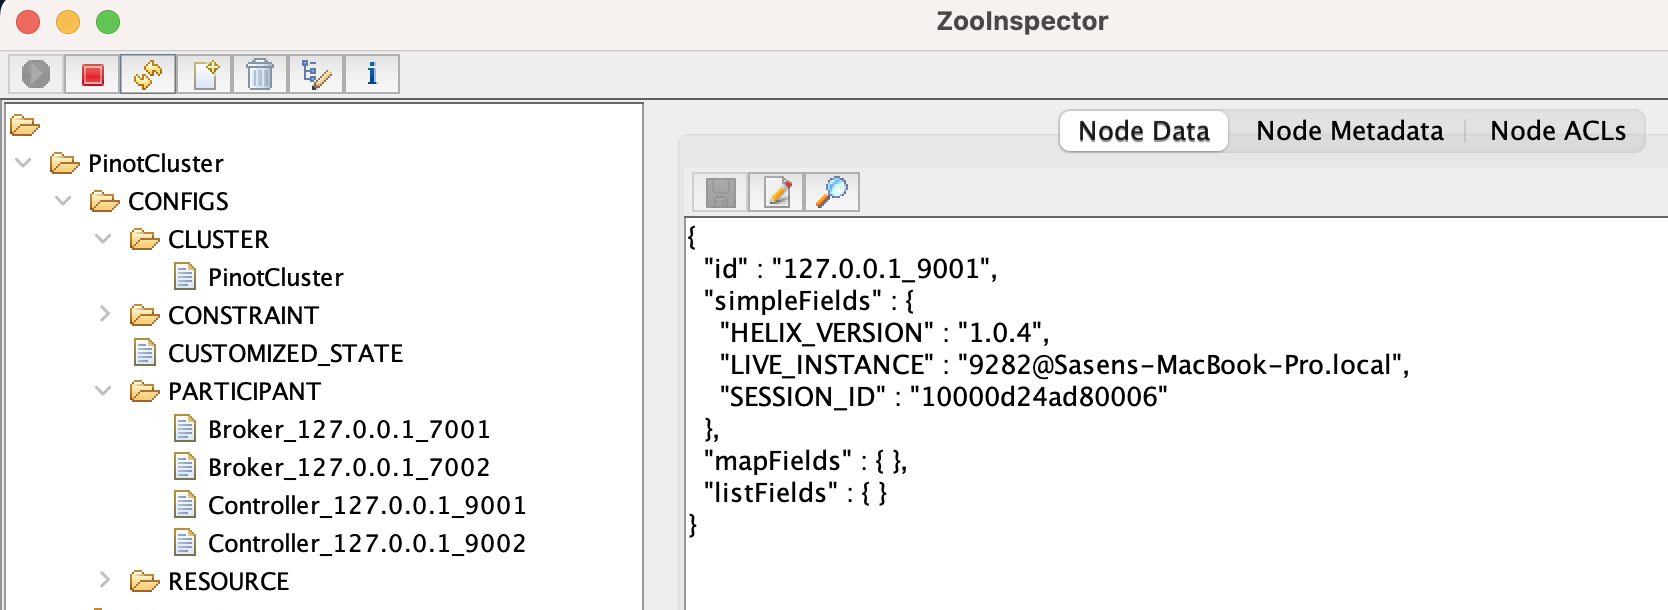
In the above commands, two Pinot controllers are started on ports 9001 and 9002. We can give any name to a cluster using the -clusterName option. The controller will communicate to ZooKeeper when it starts up to register itself. Also, it will open port 9001 so that we can use its user interface (localhost:9001).
Let’s look at the ZooInspector tool to see what changes show up after starting the Pinot controller. We have a new cluster called PinotCluster which has cluster-level config properties.
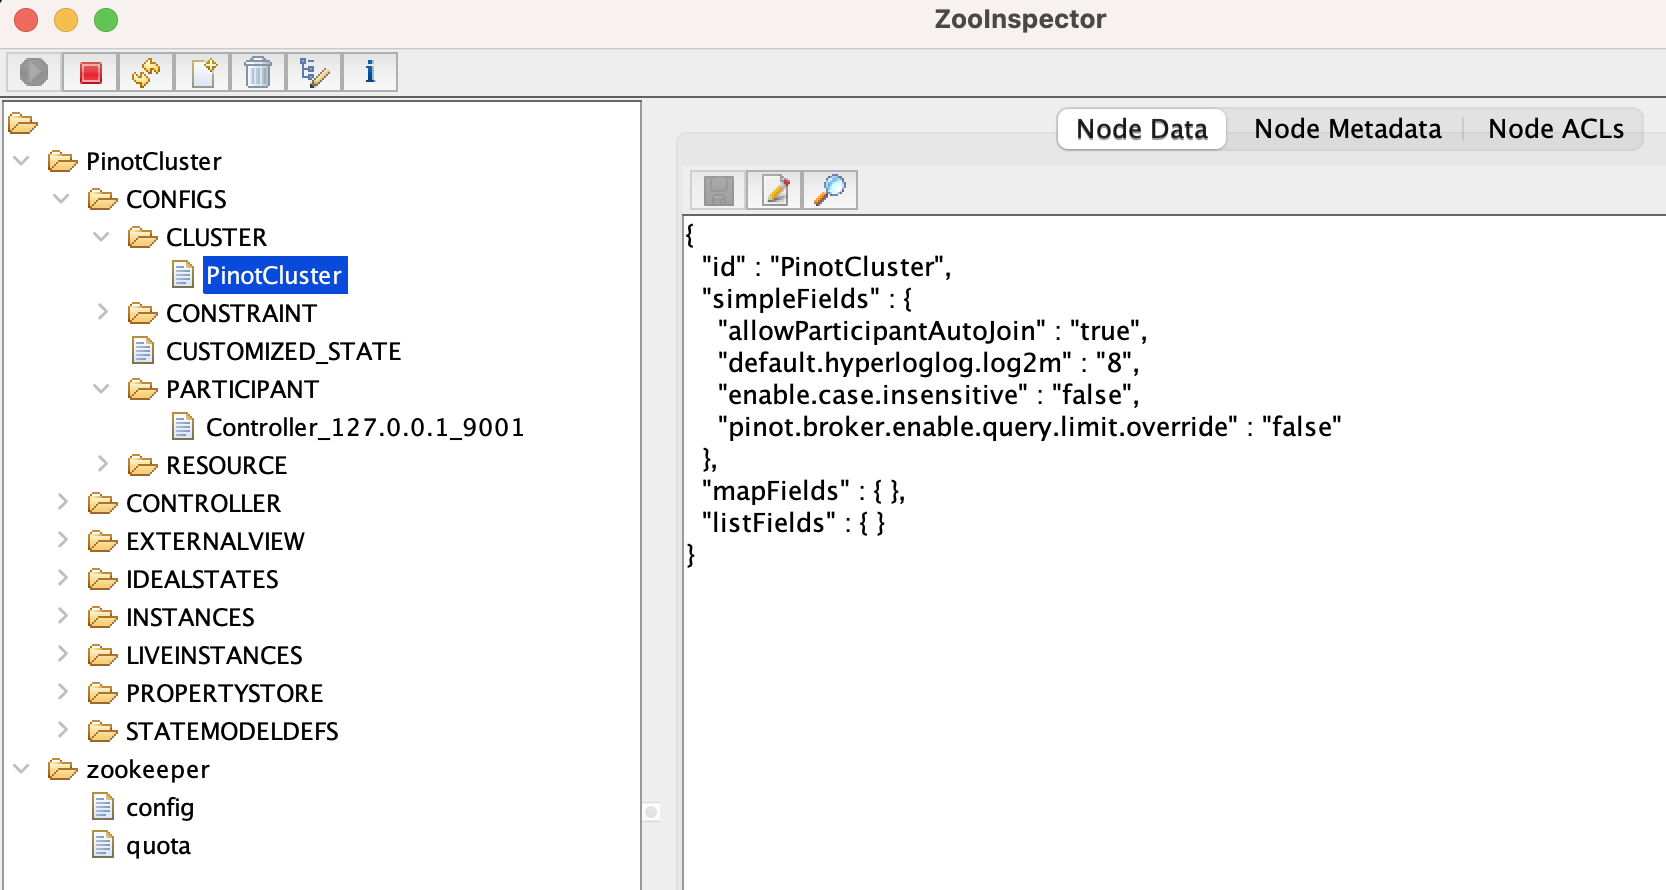 |
|
|---|---|
| Figure 2: ZooInspector Tool: New Cluster, PinotCluster is showing up. |
We have a participants directory that lists all of the cluster participants. So far, we only have the controllers (two controllers) that we just started.
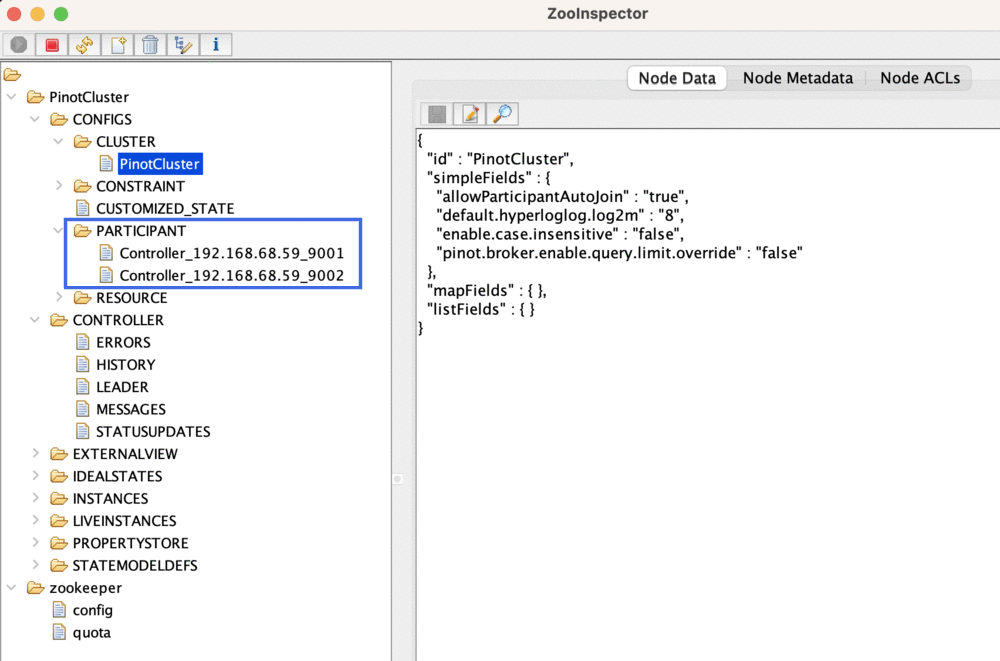 |
|
|---|---|
| Figure 3: ZooInspector Tool: Shows two controllers under participant directory. |
In the controller directory, we can see a leader node, which tells us which of the two controllers is the lead controller. The lead controller has additional responsibilities, such as running some periodic maintenance and cleanup tasks in the background.
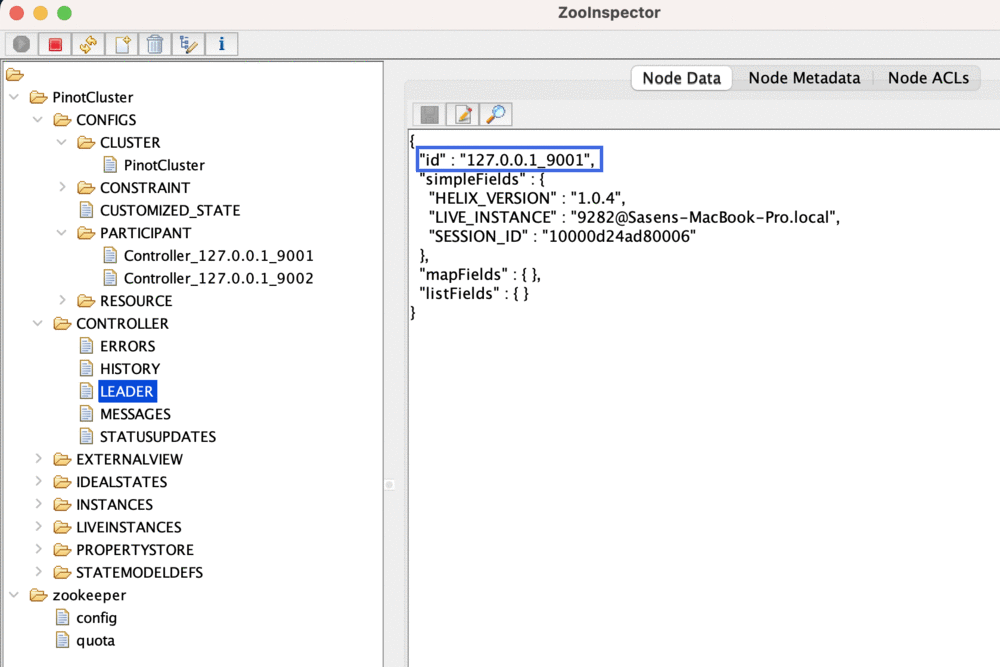 |
|
|---|---|
| Figure 4: ZooInspector Tool: Shows two controllers with a leader controller node. |
Let’s see what else our controller can do. Type localhost:9001 into the web browser’s address bar. This opens the dashboard for the Pinot cluster, which is shown below:
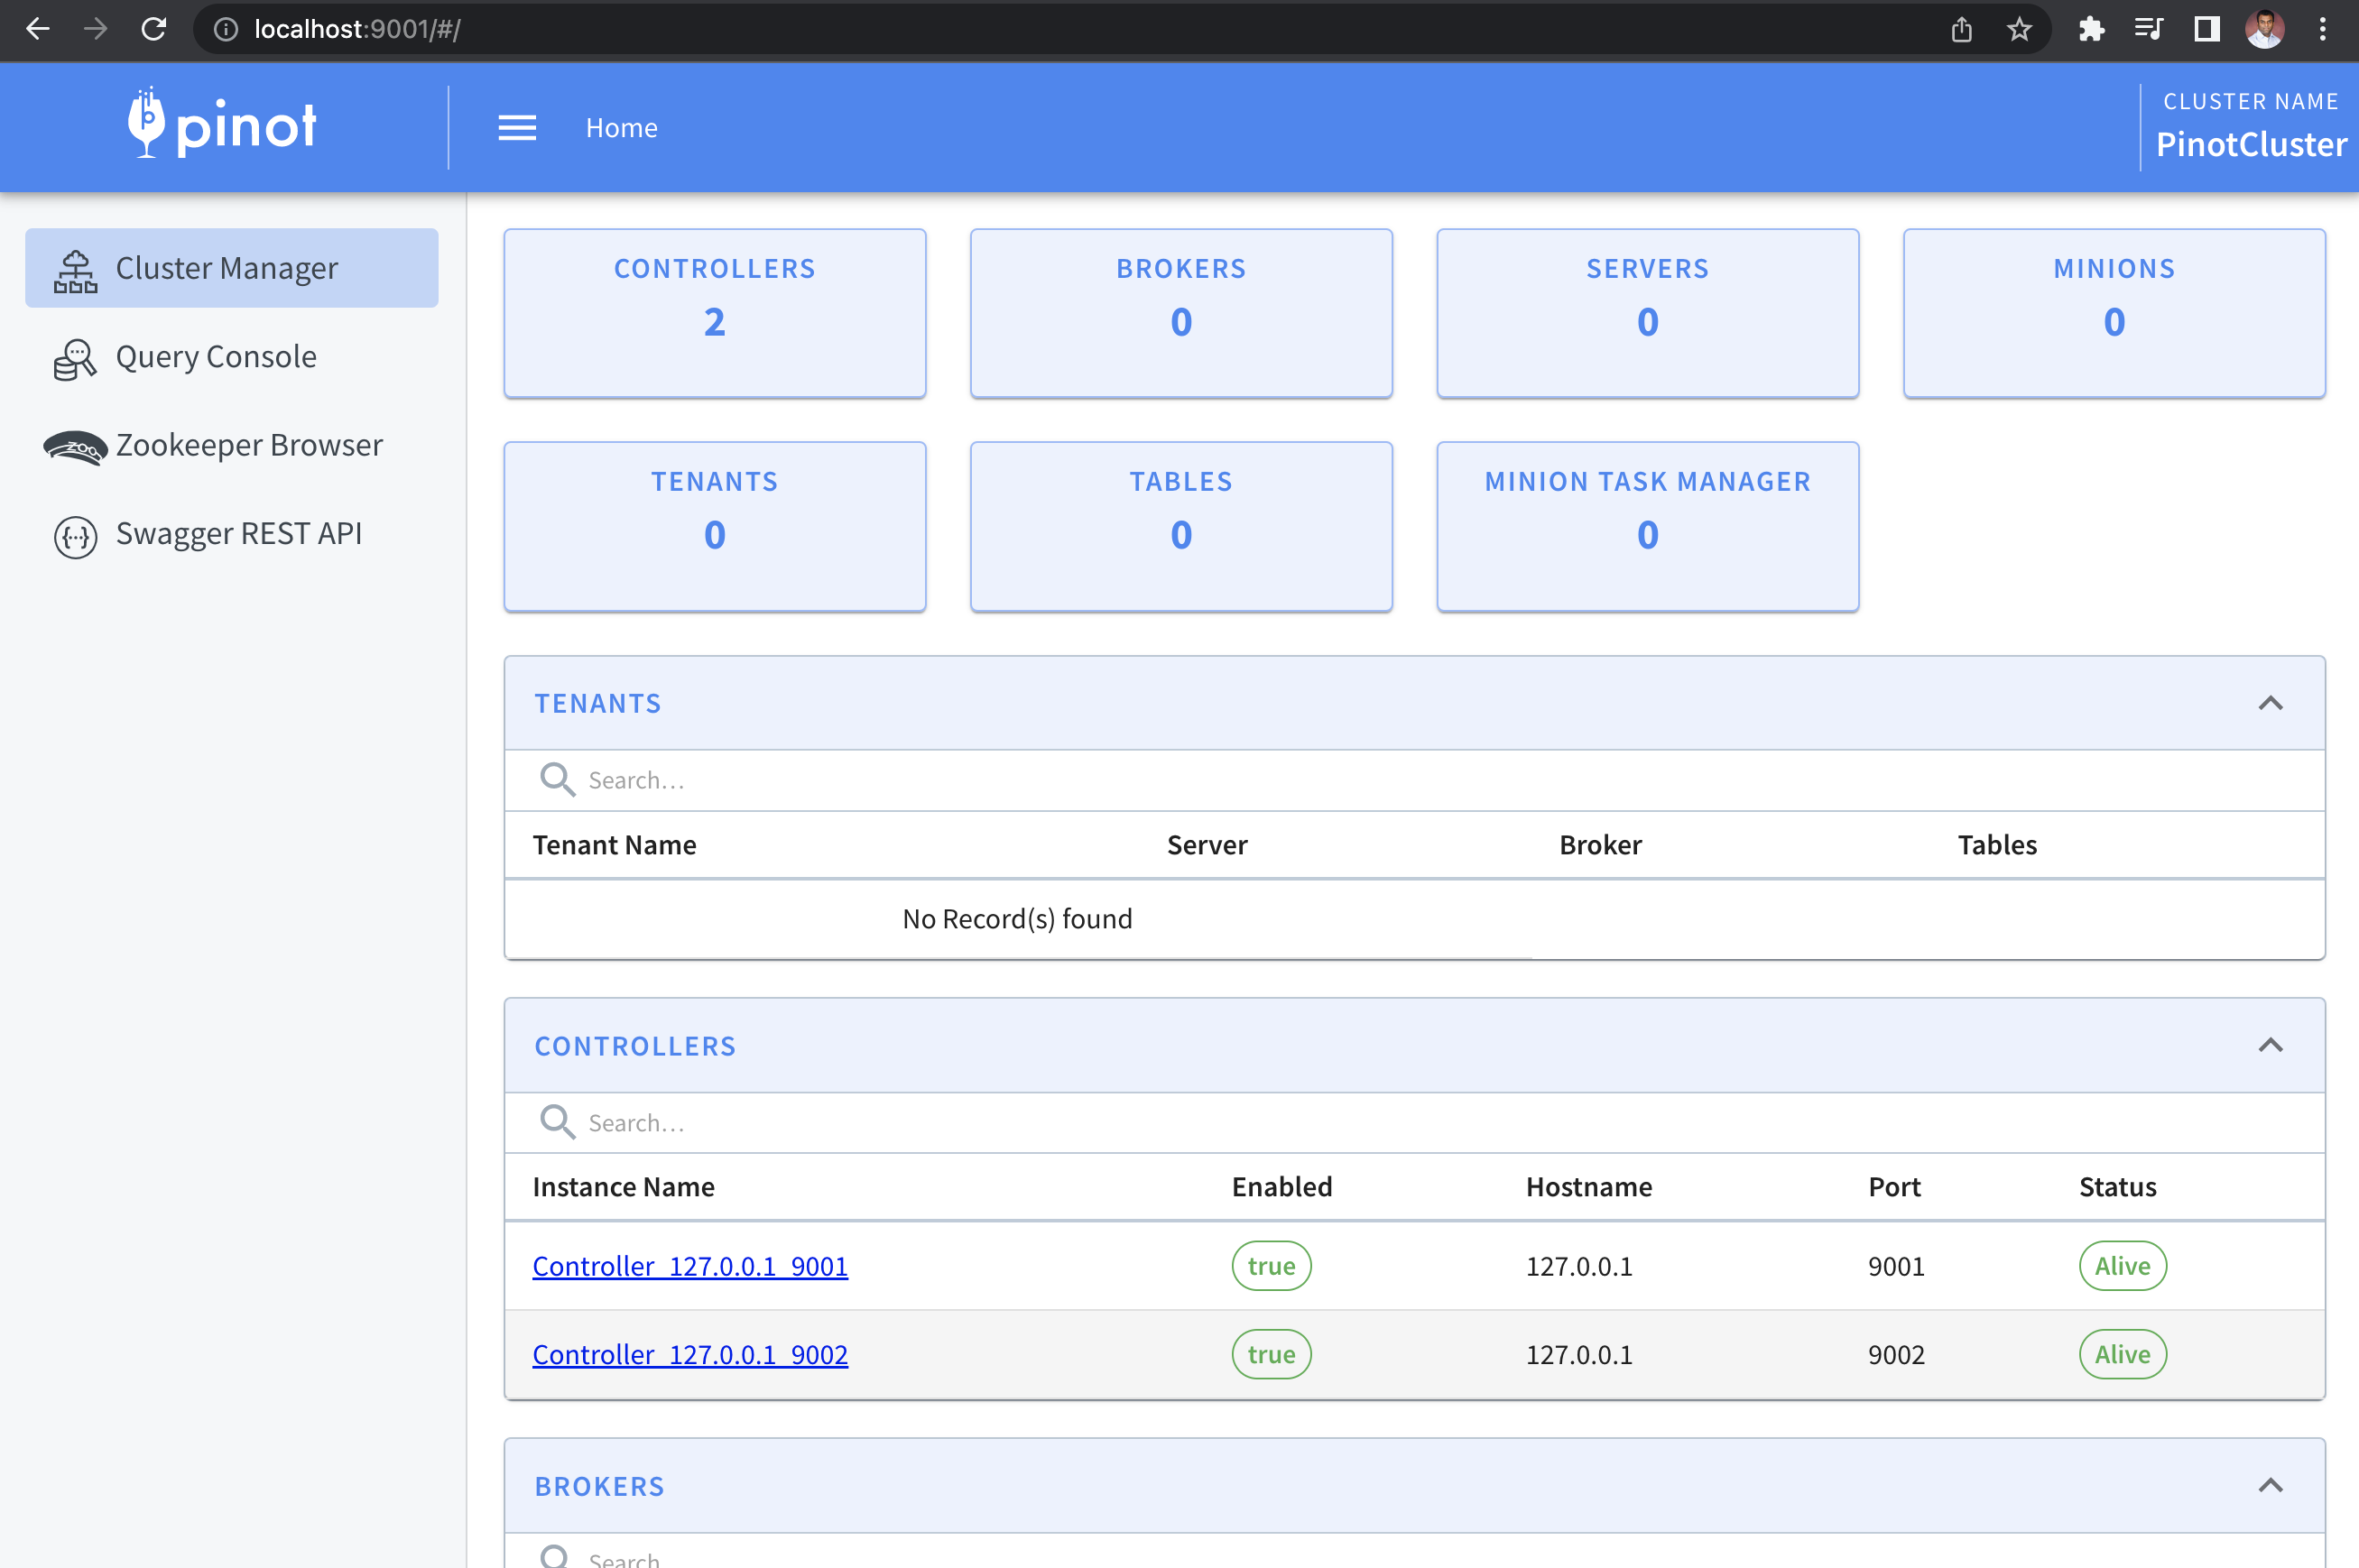 |
|
|---|---|
| Figure 5: Apache Pinot - Cluster Dashboard. |
This dashboard has the following options:
- Cluster Manager
- Query Console - lets us run queries on the tables in our cluster.
- ZooKeeper Browser
- Swagger REST API - has admin endpoints to operate and manage the cluster. Here we can perform read/write/delete operations on other entities of a cluster.
Below is the Swagger REST API page:
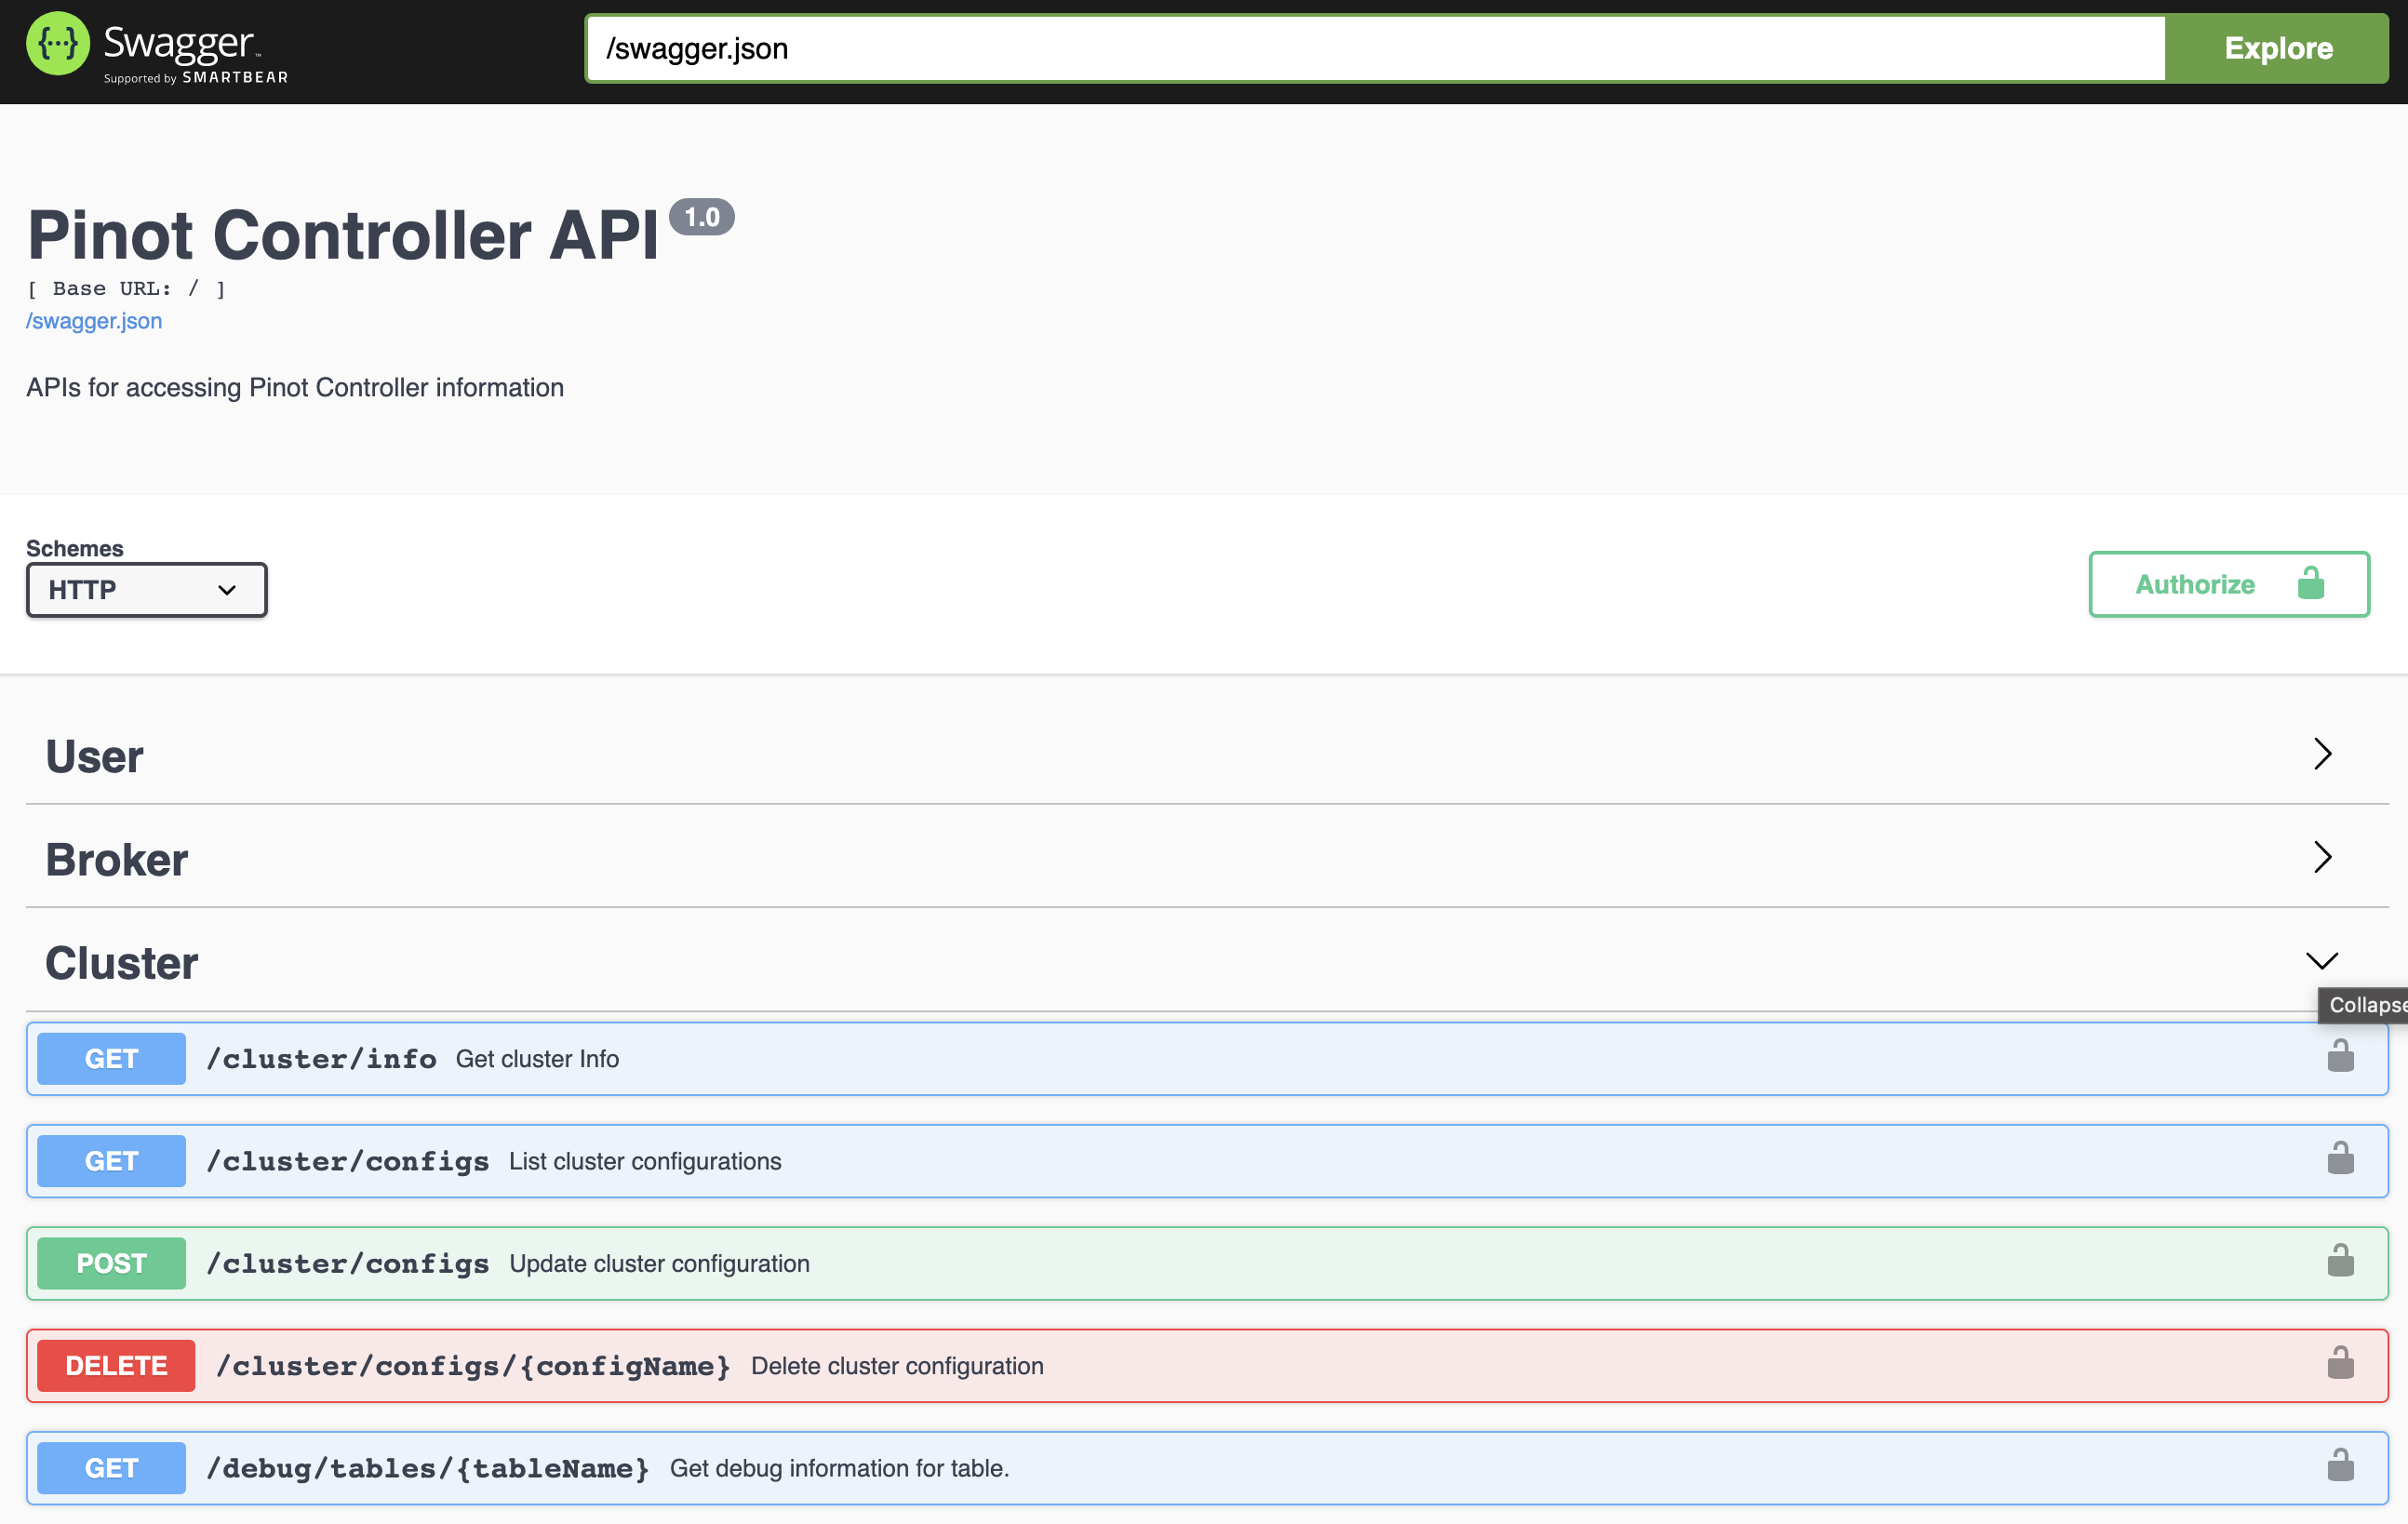 |
|
|---|---|
| Figure 6: Swagger REST API Page. |
Starting Pinot Broker
Brokers handle Pinot queries. They accept queries from clients and forward them to the right servers (data servers). They gather results from the servers and combine them into a single response to send back to the client.
Use the following command to start a Broker:
./bin/pinot-admin.sh StartBroker \
    -zkAddress localhost:2181 \
    -clusterName PinotCluster \
    -brokerPort 7001
Let’s also start another Broker using a different port, 7002:
./bin/pinot-admin.sh StartBroker \
    -zkAddress localhost:2181 \
    -clusterName PinotCluster \
    -brokerPort 7002
Let’s look at the ZooInspector tool again. Now, it shows two instances of the broker:
 |
|
|---|---|
| Figure 7: ZooInspector with Brokers. |
Starting Pinot Servers
Use the following commands to start two Pinot servers:
./bin/pinot-admin.sh StartServer \
    -zkAddress localhost:2181 \
    -clusterName PinotCluster \
    -serverPort 8001 -serverAdminPort 8011
./bin/pinot-admin.sh StartServer \
    -zkAddress localhost:2181 \
    -clusterName PinotCluster \
    -serverPort 8002 -serverAdminPort 8012
ZooInspector shows all services now:
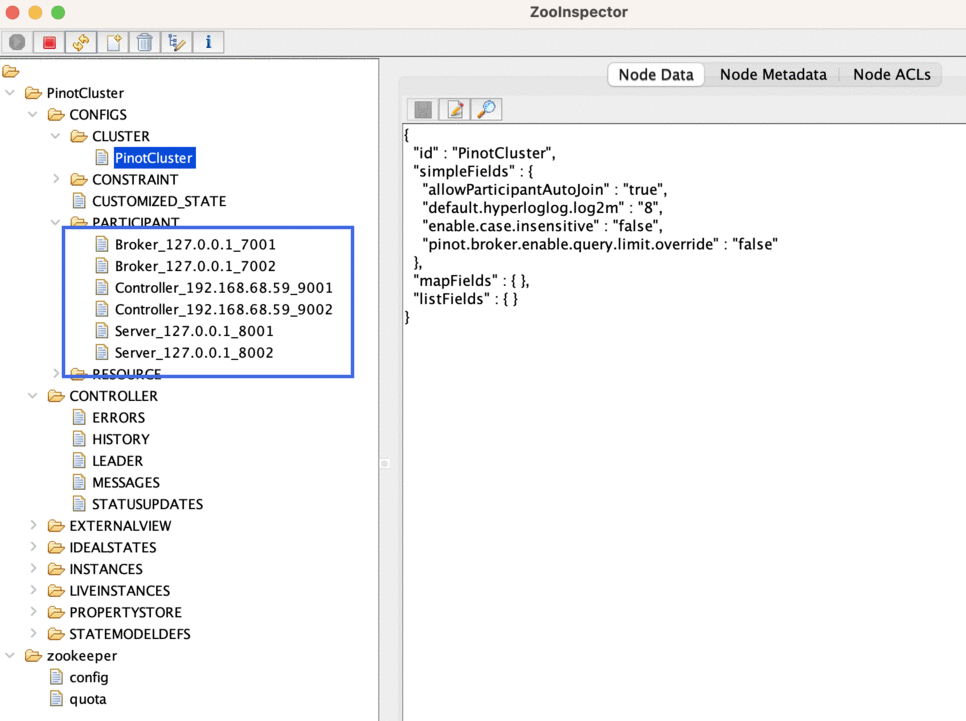 |
|
|---|---|
| Figure 8: ZooInspector with all services. |
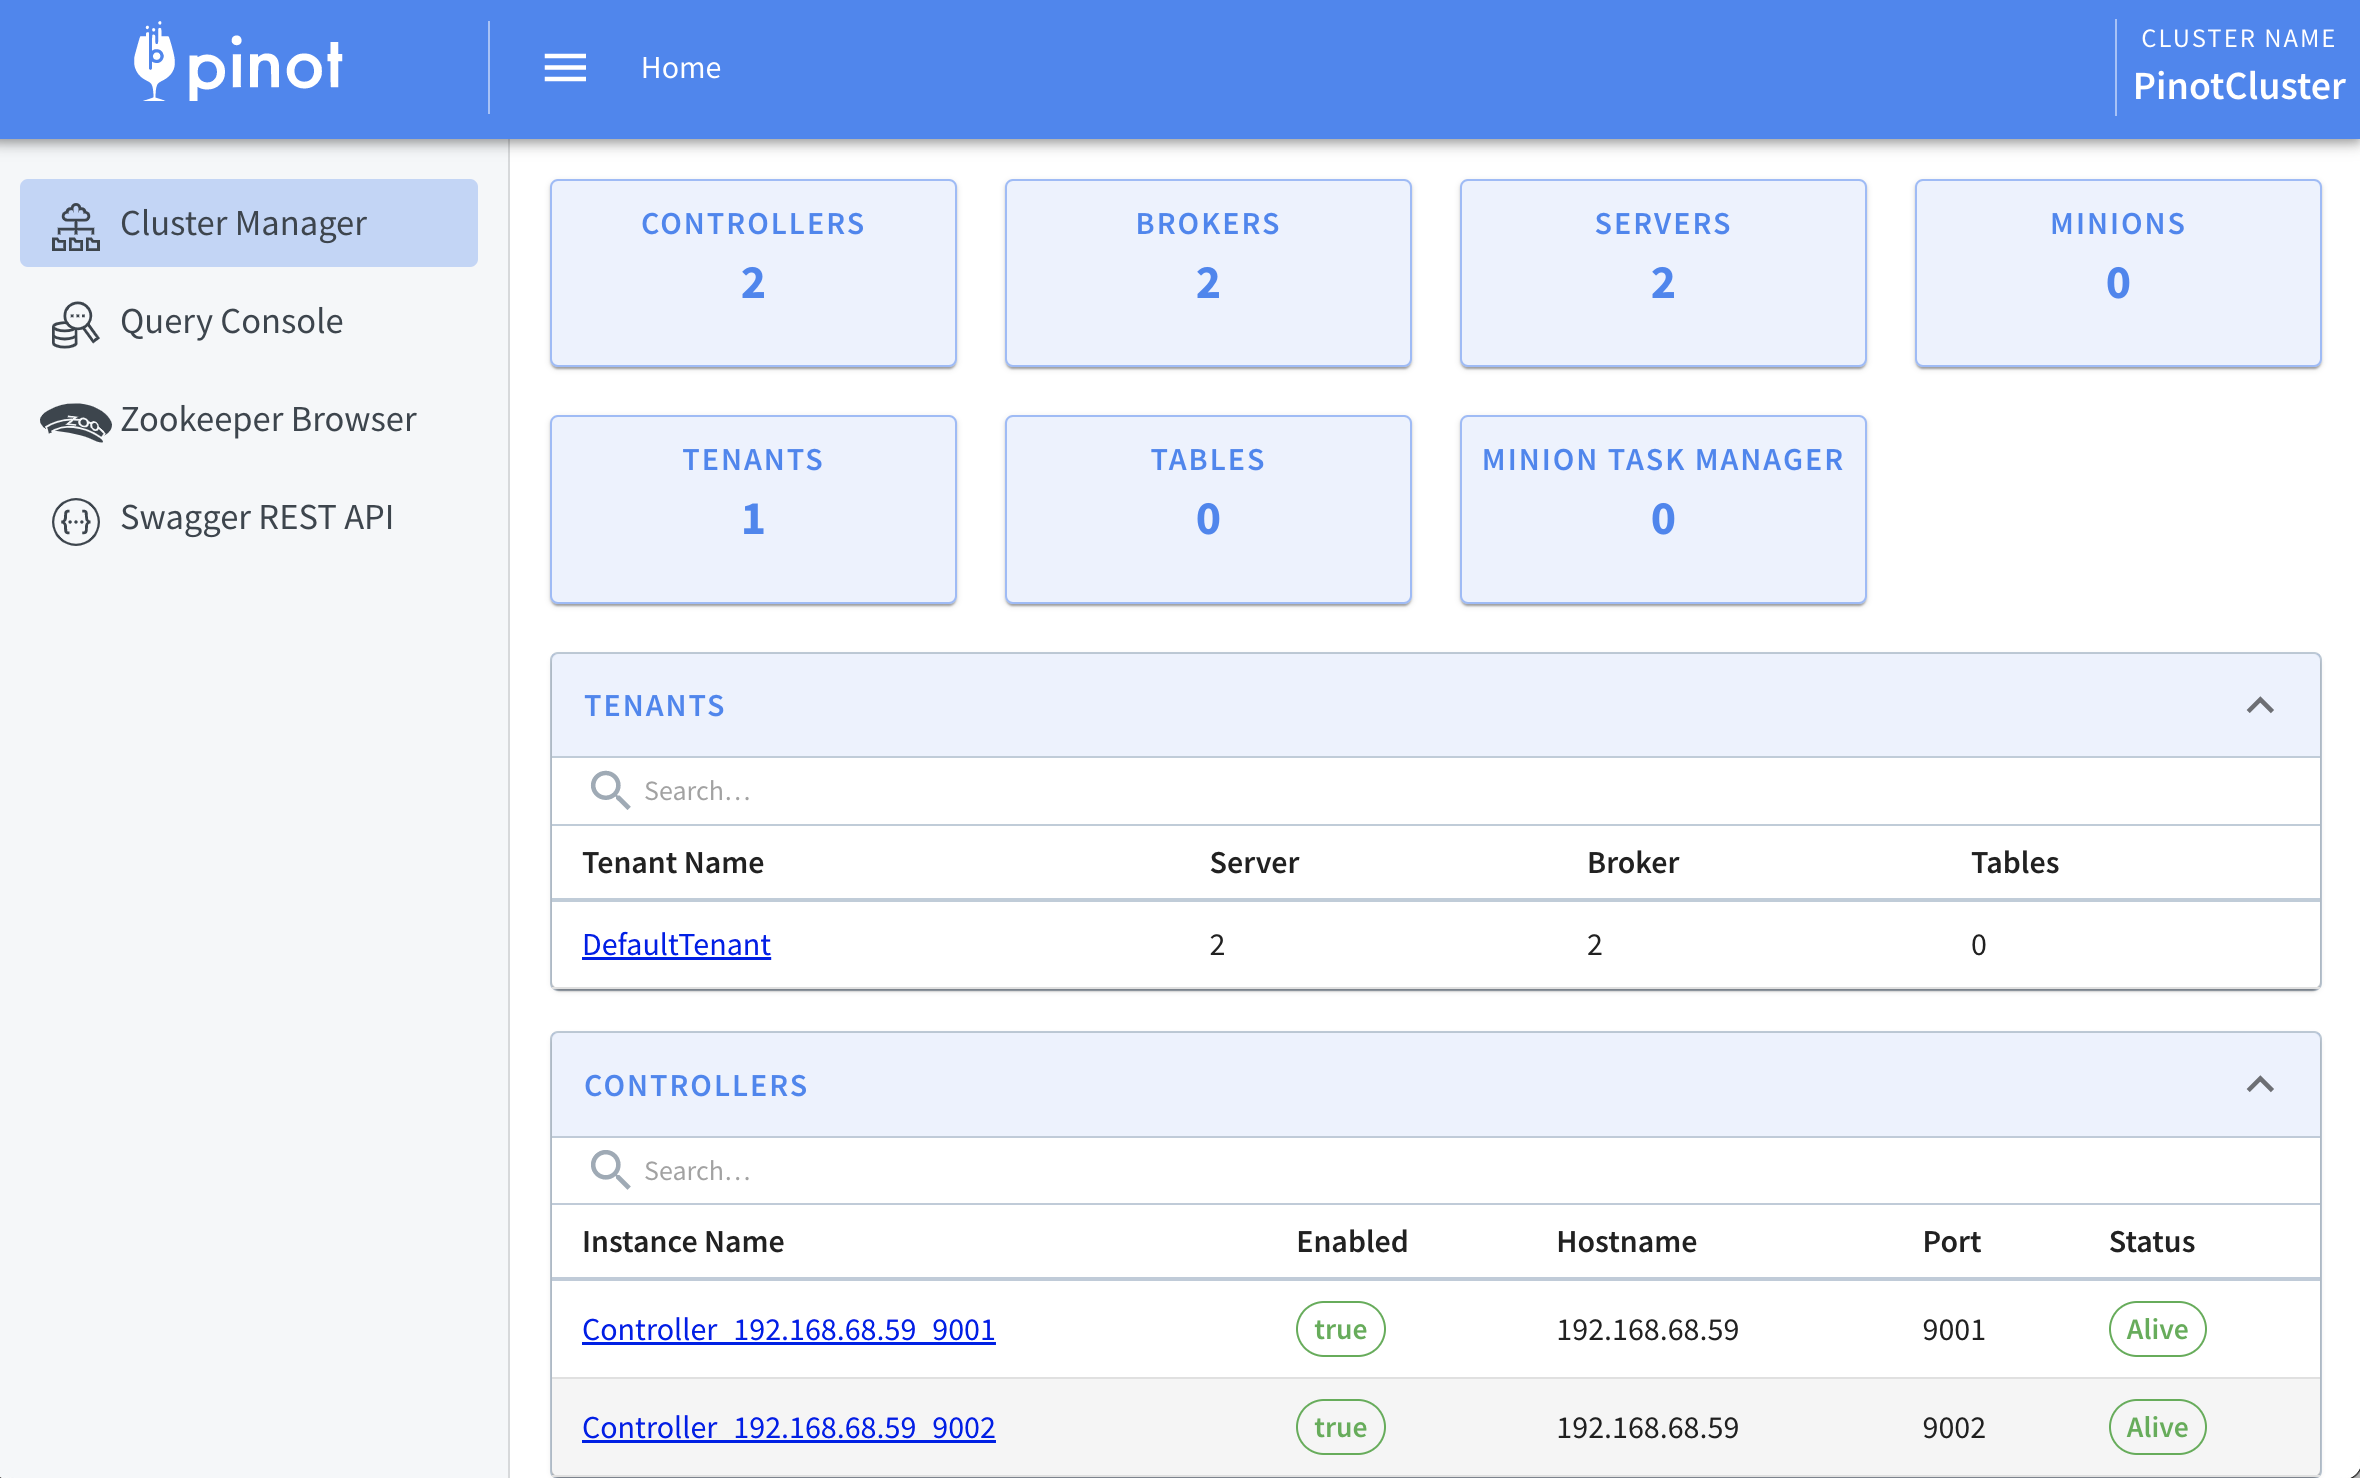
Kudos! The cluster has been set up now. Use Zooinspector to explore the cluster. Explore the Admin endpoints using Rest API on the controller http://localhost:9001.
 |
|
|---|---|
| Figure 9: Pinot Dashboard with all services. |
From the dashboard, we can see that there are two controllers, two brokers, two servers, and one tenant. The Pinot cluster is now up and running.
Tenant is a logical grouping of nodes (servers and brokers) with the same Helix tag. In our cluster, we have a default tenant called “default tenant.” When nodes are created in the cluster, they automatically get added to the default tenant.
Explore more like this


Nov 14, 2022 - 18 Mins Read
Comments